Local Licensing Server Initial Setup
The first steps after installing the Local Licensing Server: open its management console, sign in and change the default password. Then load your licenses.
This page describes Local Licensing Server 5.1. For version 4.2 and earlier the details may differ — see the delivery instruction for version 4.2 (PDF).
Opening the console
On the server machine, open a web browser and go to http://localhost. If you changed the default HTTP port 80 in docker-compose.yml, add your port: http://localhost:8080.
You can also configure the server from any other device in the same local network: use the server's IP address with the port, http://<server IP address>:<port>. Make sure the server's firewall allows access to that port.
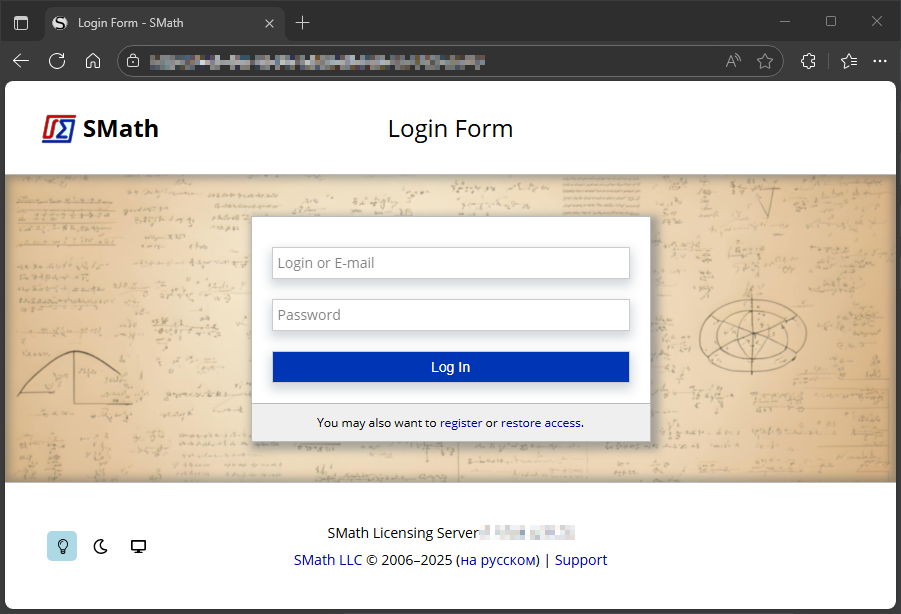
Signing in for the first time
Sign in with the default credentials given in your delivery instruction. The portal does not publish them: a server whose password was never changed would be open to anyone who read it here.
The server asks you to set a new password straight away. Keep it in a safe place — if it is lost, the only way back is recreating the database.
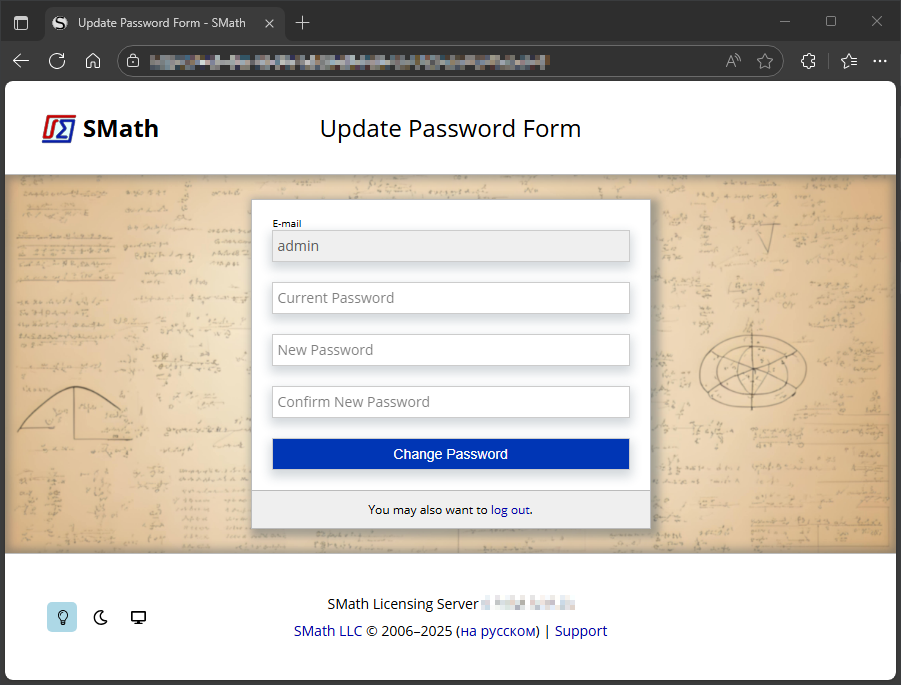
After the password is changed, the Licenses page opens. This is where the rest of the setup happens:
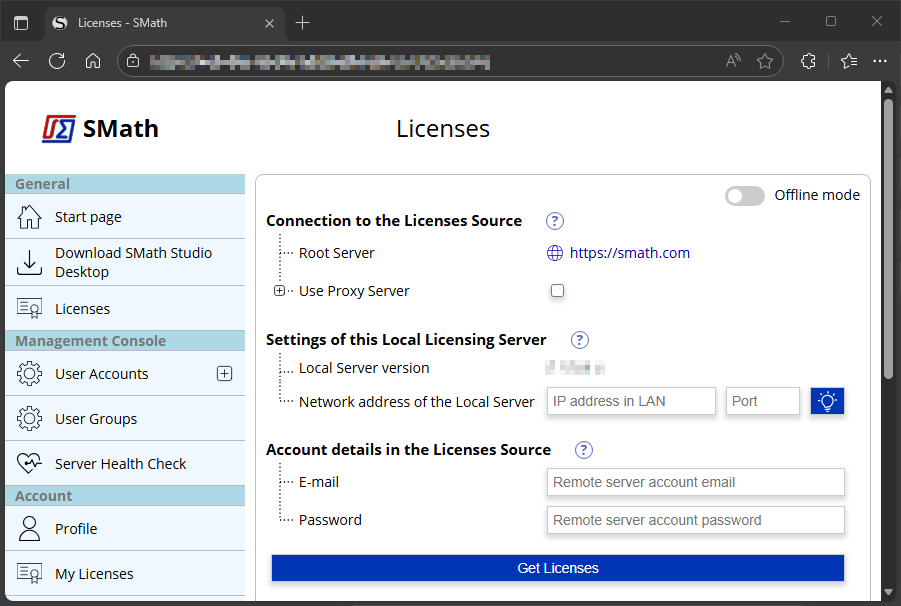
Continue with Loading Licenses.